Thursday 10 April 2014

SAS Jeep Revisited


It's funny how opinions change, how something might seem well made and well detailed one day - can become drab and poor quality later.  This is one such project.

When I made this I was really happy with it, to me the detail was great - but as time has passed and my skills have improved, I look back on this now and see all the flaws.

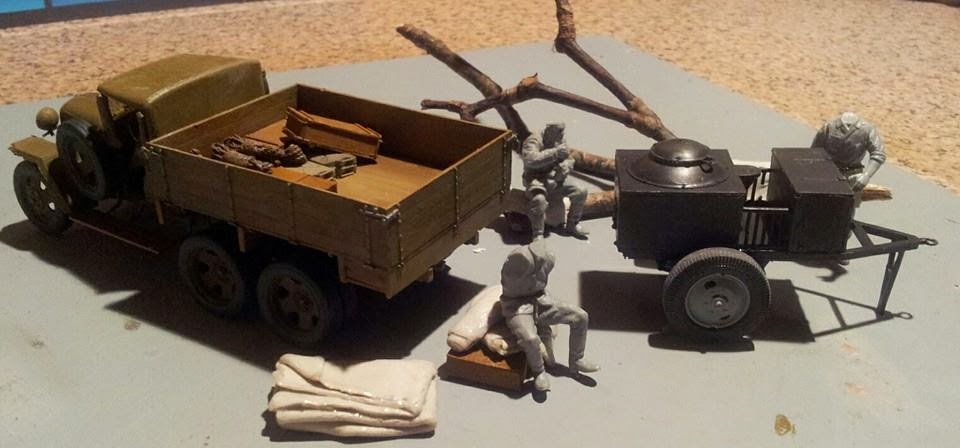
The tarps and scrim nets - I didn't want to use the ones that came with the kit, so I made up some using car filler instead. (I used the originals, pressed into playdoh to form a mould - which I filled with filler).

The detail in the painting is shoddy.  Rough, unrefined.  I rushed this model, and it shows when you examine it close up.

Today I opened a new kit - spread the parts across my work bench, put on my glasses and started to study the instructions - but there was a nagging voice in the back of my head that told me to revisit this model before I start something new.

Now, I tend to rush my models - I start off full of good intentions, lots of attention to detail, keen - but as the project moves forward I then get (no, not bored) restless.  I want it finished, I want it published.  I'm almost thinking about the next kit.

So.  I pulled this one out of the box I had hidden it away in the day before.
I also had this stashed away...


It's a cut and shut, a made up vehicle - front end jeep, back end double axle flatbed.
But because it's not authentic, I don't like it - so I have stripped every useful part off of it, and threw away the carcass.  The stowage I have set aside to use on my SAS remodel.

So, check back in a few days time to see what might grow from the pile of bits that now litter, strewn in tiny piles, across my workbench.


19th April 2014
Update...


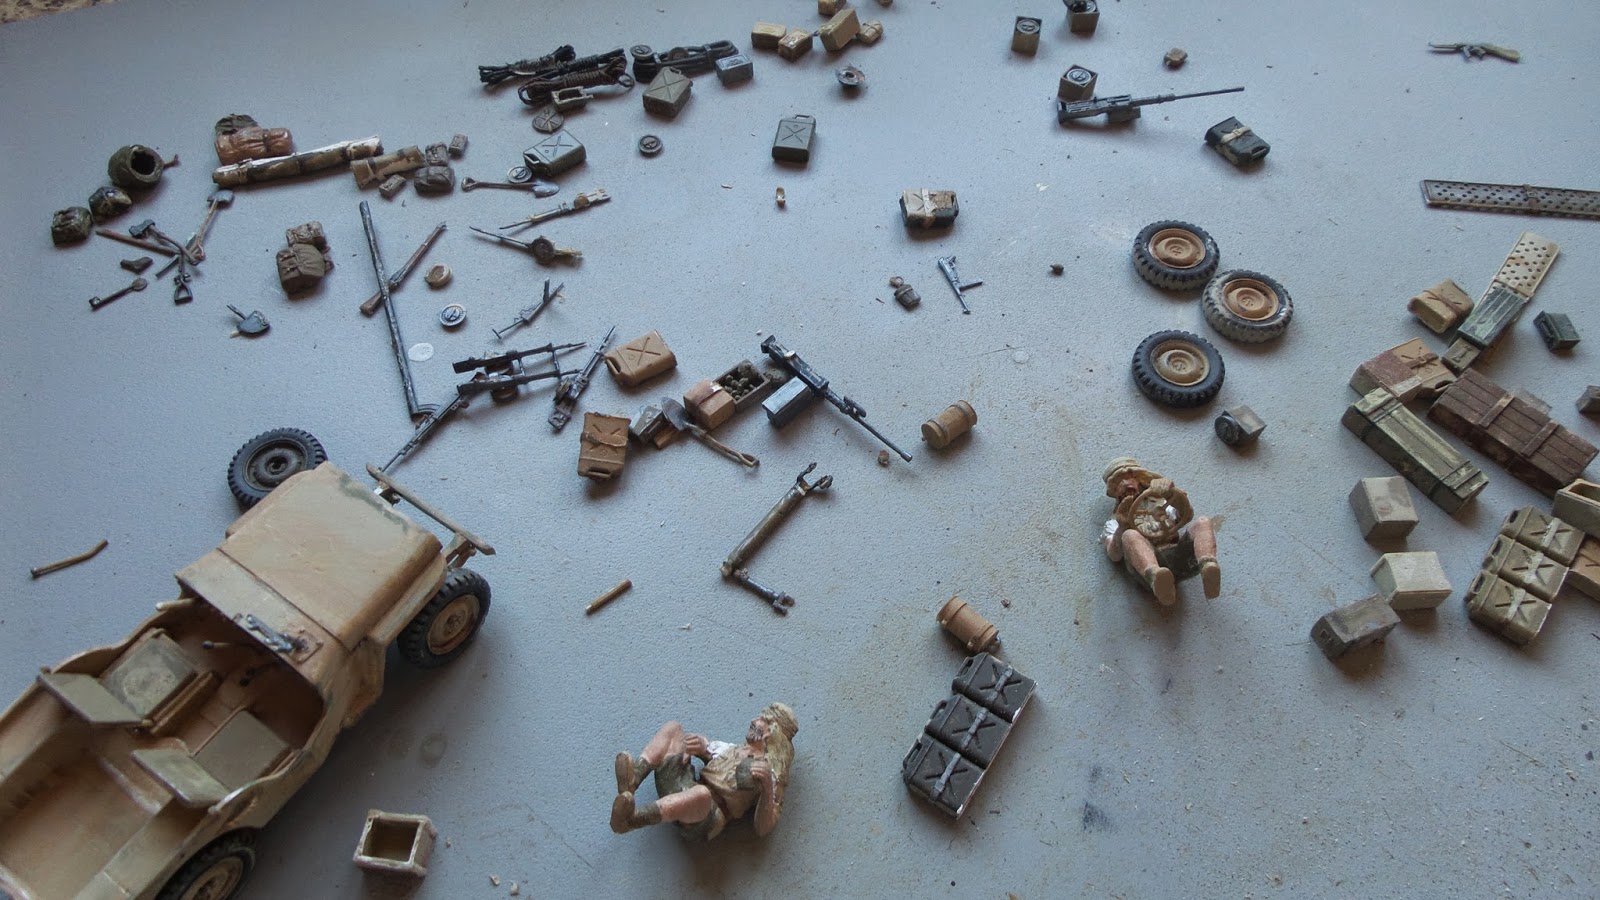
So, having stripped down both models, discarding the botched up chassis and damaged parts, I'm left with all the parts above.  I rubbed down all the paintwork on the jeep, revealing some of the olive drab undercoat.  I also stripped off as much paintwork off the figures ready to repaint.


Then, after adding back some of the stowage I'm left with this...
...and below is the finished remodel.


Sunday 9 March 2014

Something Odd!

Now, this...
this is,
well...
Odd.

I had a spare jeep - they're so cheap - about £5 each, and they come with a trailer.  I've already made one, without the trailer - so i had a spare 1/35 scale US Wiley's jeep, and two trailers.

I sawed the back half off the jeep, and used both trailers to make a rear flat bed unit.  I rigged up a double rear axle, and cobbled the whole lot together.  A real cut and shut - it's totally fictional, made up from my imagination - in reality it wouldn't work - but I wanted to build something different.

I then wondered what to use it for, and I imagined a couple of British soldiers driving around during WWII scavenging kit and supplies to "sell" on or trade.

And this is what I ended up with.


German machine gun crew

This was a mini project...
1. I needed more practice painting figures
2. I had some spare figures.
3. I needed something to do while I was waiting for the paint to dry on another build!


1941 Gaz AAA plus field kitchen.

Hi, well, this is going to be my next project...


I wanted to deviate from my usual comfort zone of US or UK, plus, something a bit older looking.


First comes the engine block, then the read differentials and wheels.  Each wheel is made up of something like 7 parts each!

Building up the chassis now, ready to add the wheels.  I've already painted in the ironwork with a good amount of rust wash on the leaf springs.


So, it's now starting to look like a truck now.


Running boards and rear compartment added - all wood, so base coated with a wood colour to start. Then some kursk earth colour "sprayed" on by mixing kursk earth, some talc powder and a little burnt sienna acrylic - dip the top of an old toothbrush in and drag a thumbnail over to flick it over the base to simulate mud splatter.


Need to work on that woodwork...


... base coat brown, add knotting with burnt sienna and a 000 brush, scuff some areas and add highlights...


... emphasise planking, steelwork and so on.
Then to add some "life" to the setting...


A few ammo boxes, tarps (made from das modelling clay), the field kitchen, and some figures.
And here's the finished diorama.